Secure Shell or SSH is a network protocol that allows you to connect to a remote server. You can use it to access another computer remotely over the network or perform command-line execution.
In this article, you will learn how to connect a Mac to a remote server via SSH.
What іs SSH and how does it work?
SSH is a protocol that you use to access a computer over an unsecured network in a secure manner. It does that by encrypting all communications between your computer and the server. That is one of the reasons why one of its most popular uses is remote access and command-line execution on another computer.
The purpose behind SSH’s creation was to address the security vulnerabilities associated with other protocols such as FTP and Telnet. In fact, when SSH was created in 1995, the port number chosen for it was 22, which is between that of Telnet’s 23 and FTP’s 21.
When using it to connect to a remote server, it encrypts the network connection with randomly generated public-private keys and then requires password authentication, adding an extra layer of security. This is a very simple example of how SSH works, but users can also create keys themselves.
Other than remote access and command-line execution, SSH is also used for tunneling, forwarding TCP ports, and X11 connections. You can start an SSH connection by typing the following SSH command in Mac’s Terminal: ssh username@IP-address
To establish SSH connections, you may use the built-in SSH client and Terminal app or install a third party Terminal emulator and get additional advantages, which we have described below.
SSH from Mac Terminal - the built-in SSH client
On macOS, Terminal is the app that gives you the ability to run the built-in SSH client. It gives you access to a powerful set of command-line tools. Below, we have shared step-by-step instructions on how you can use SSH via your Mac’s Terminal.
How to use SSH on Mac via Terminal
Let’s take a look at the steps required to make an SSH connection via Terminal on macOS:
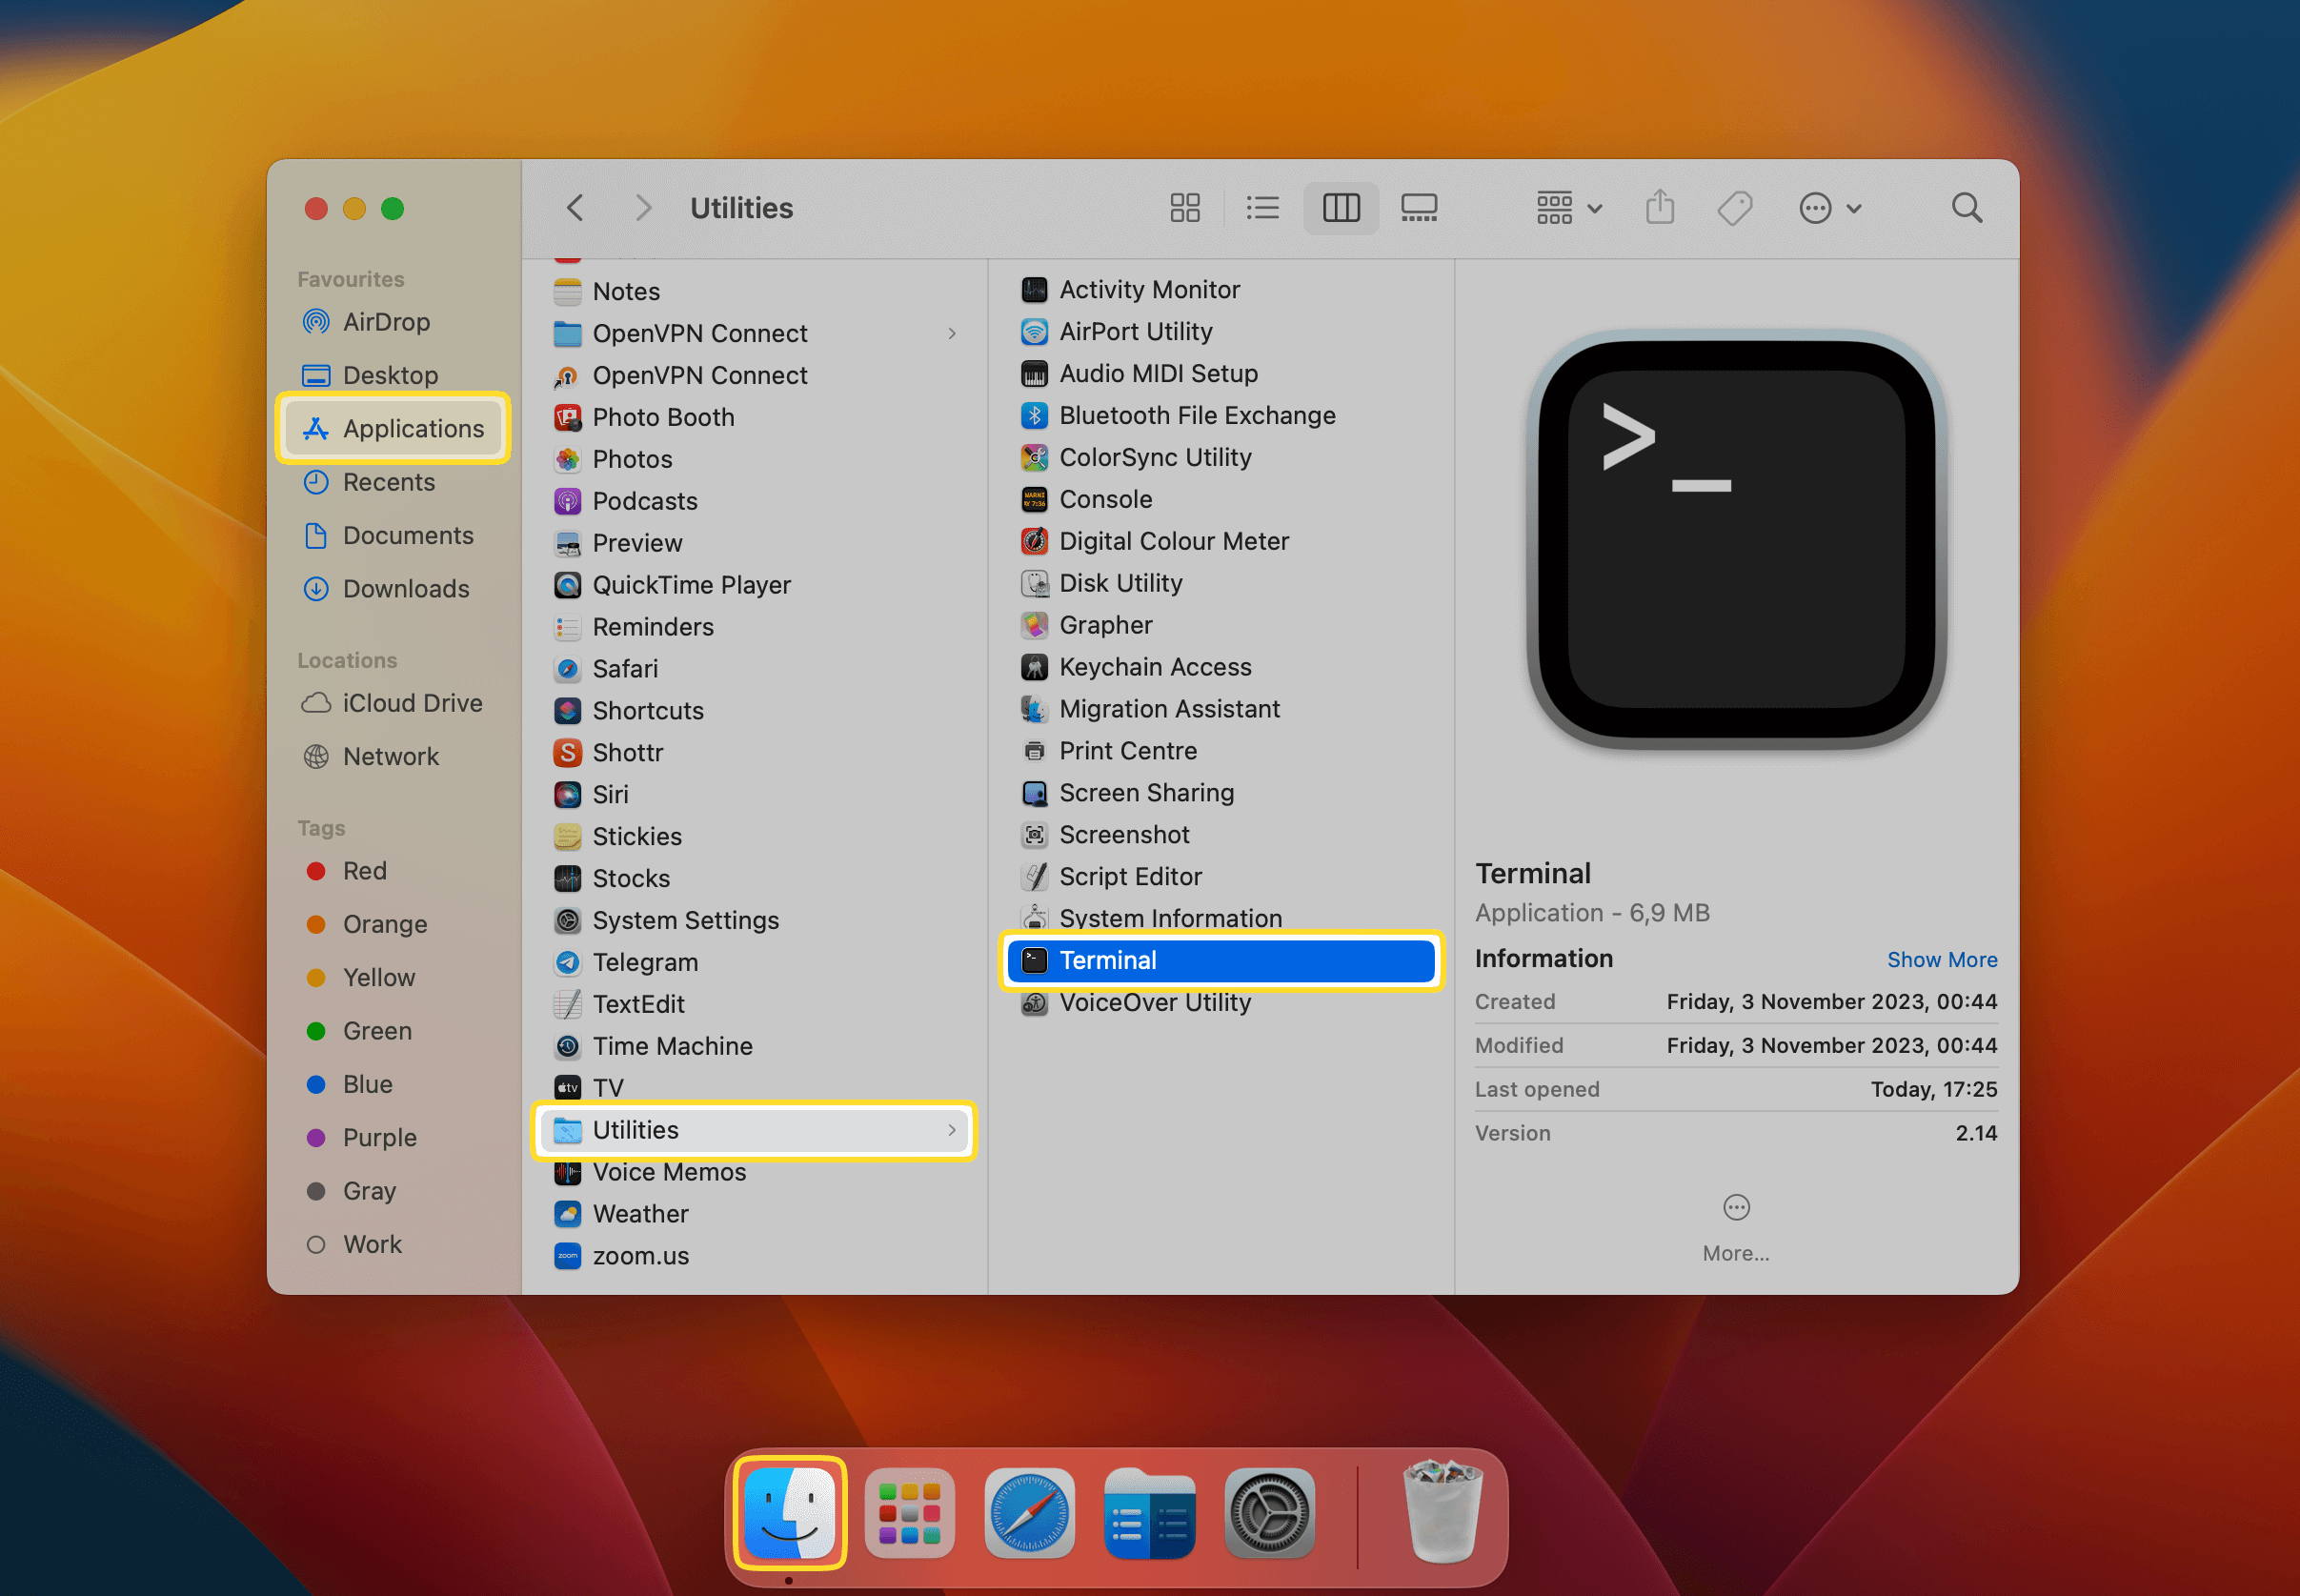
First, open the Terminal app by opening Finder and going to Applications > Utilities. You could also open it by searching for it in Spotlight Search (Command+Space bar).
To make an SSH connection, you’ll have to type the following command in Terminal: ssh user@IP-address. You’ll have to replace “user” with your username and “IP-address” with the IP address of the remote server.
Note: If connecting for the first time, you may be asked to confirm if you want to continue connecting. Simply type yes and press the Enter key.
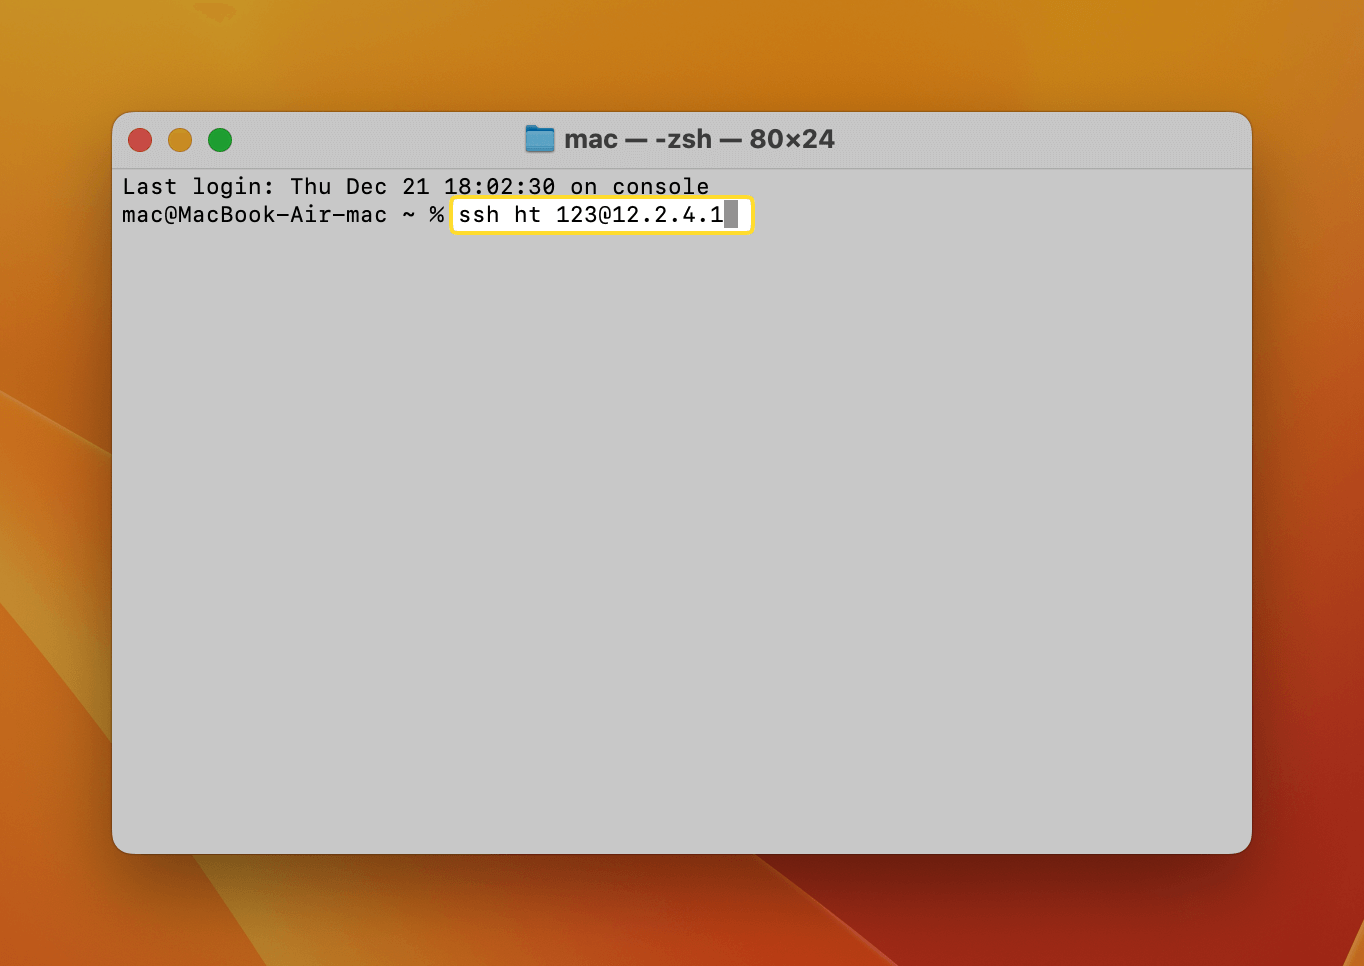
Enter the password if the SSH client asks for it.
Once connected, you can use any Terminal command to perform an action. We recommend checking out our list of Terminal commands to see what you can do.
To disconnect from the SSH server, type exit and press the Enter key.
The alternative method to access SSH: Commander One - the Terminal emulator
If you want a more intuitive application for using SSH in macOS, then we recommend checking out Commander One. It’s a file manager that doubles as an FTP client and comes with a Terminal emulator in Pro version. There are many other useful features included in Commander One, including a dual-pane interface, the ability to mount cloud storages as local drives, and ZIP archives support.
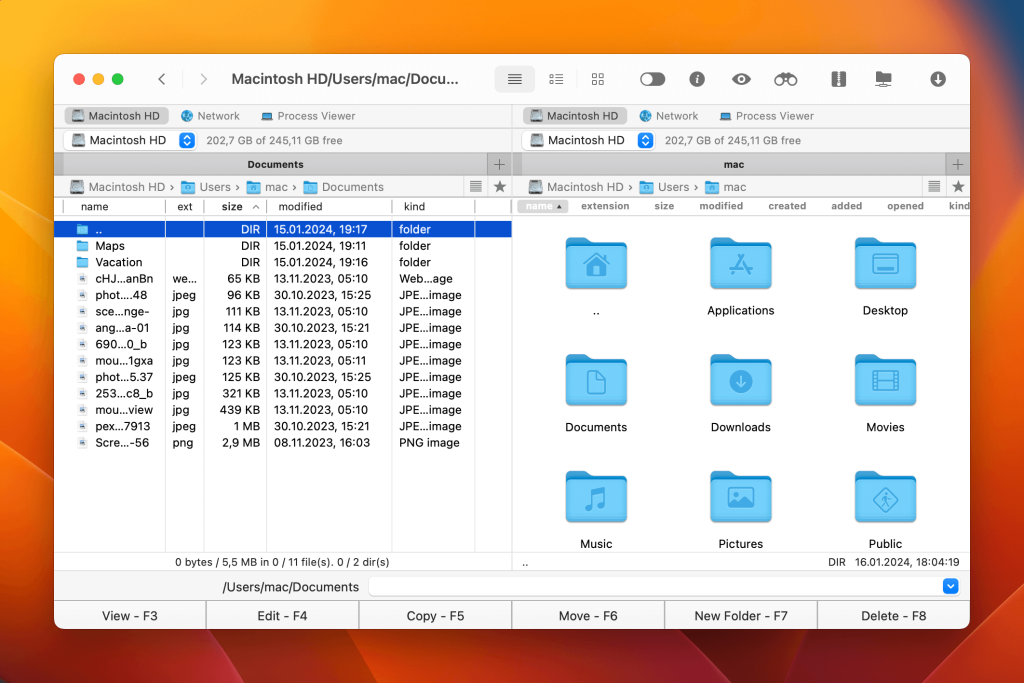
Commander One isn’t just a substitute for Terminal, though. It’s also a great alternative for the Finder app. The two panels help with increasing productivity and making your workflow smoother. You can interact with multiple folders, hide/unhide files at the click of a button, customize hotkeys, and open as many tabs as you want.
The Pro version offers additional features and more advanced functionalities such as being able to use Terminal inside the Commander One interface. You could also mount an Amazon S3 bucket, work with WebDAV files, seamlessly access Backblaze B2 files, and more.
Open SSH on Mac with Commander One
Using Commander One to open an SSH connection on Mac is a straightforward process. Below, we have explained how you can do it:
First, download Commander One from its official site. Wait for it to finish installing on your Mac and then launch it.
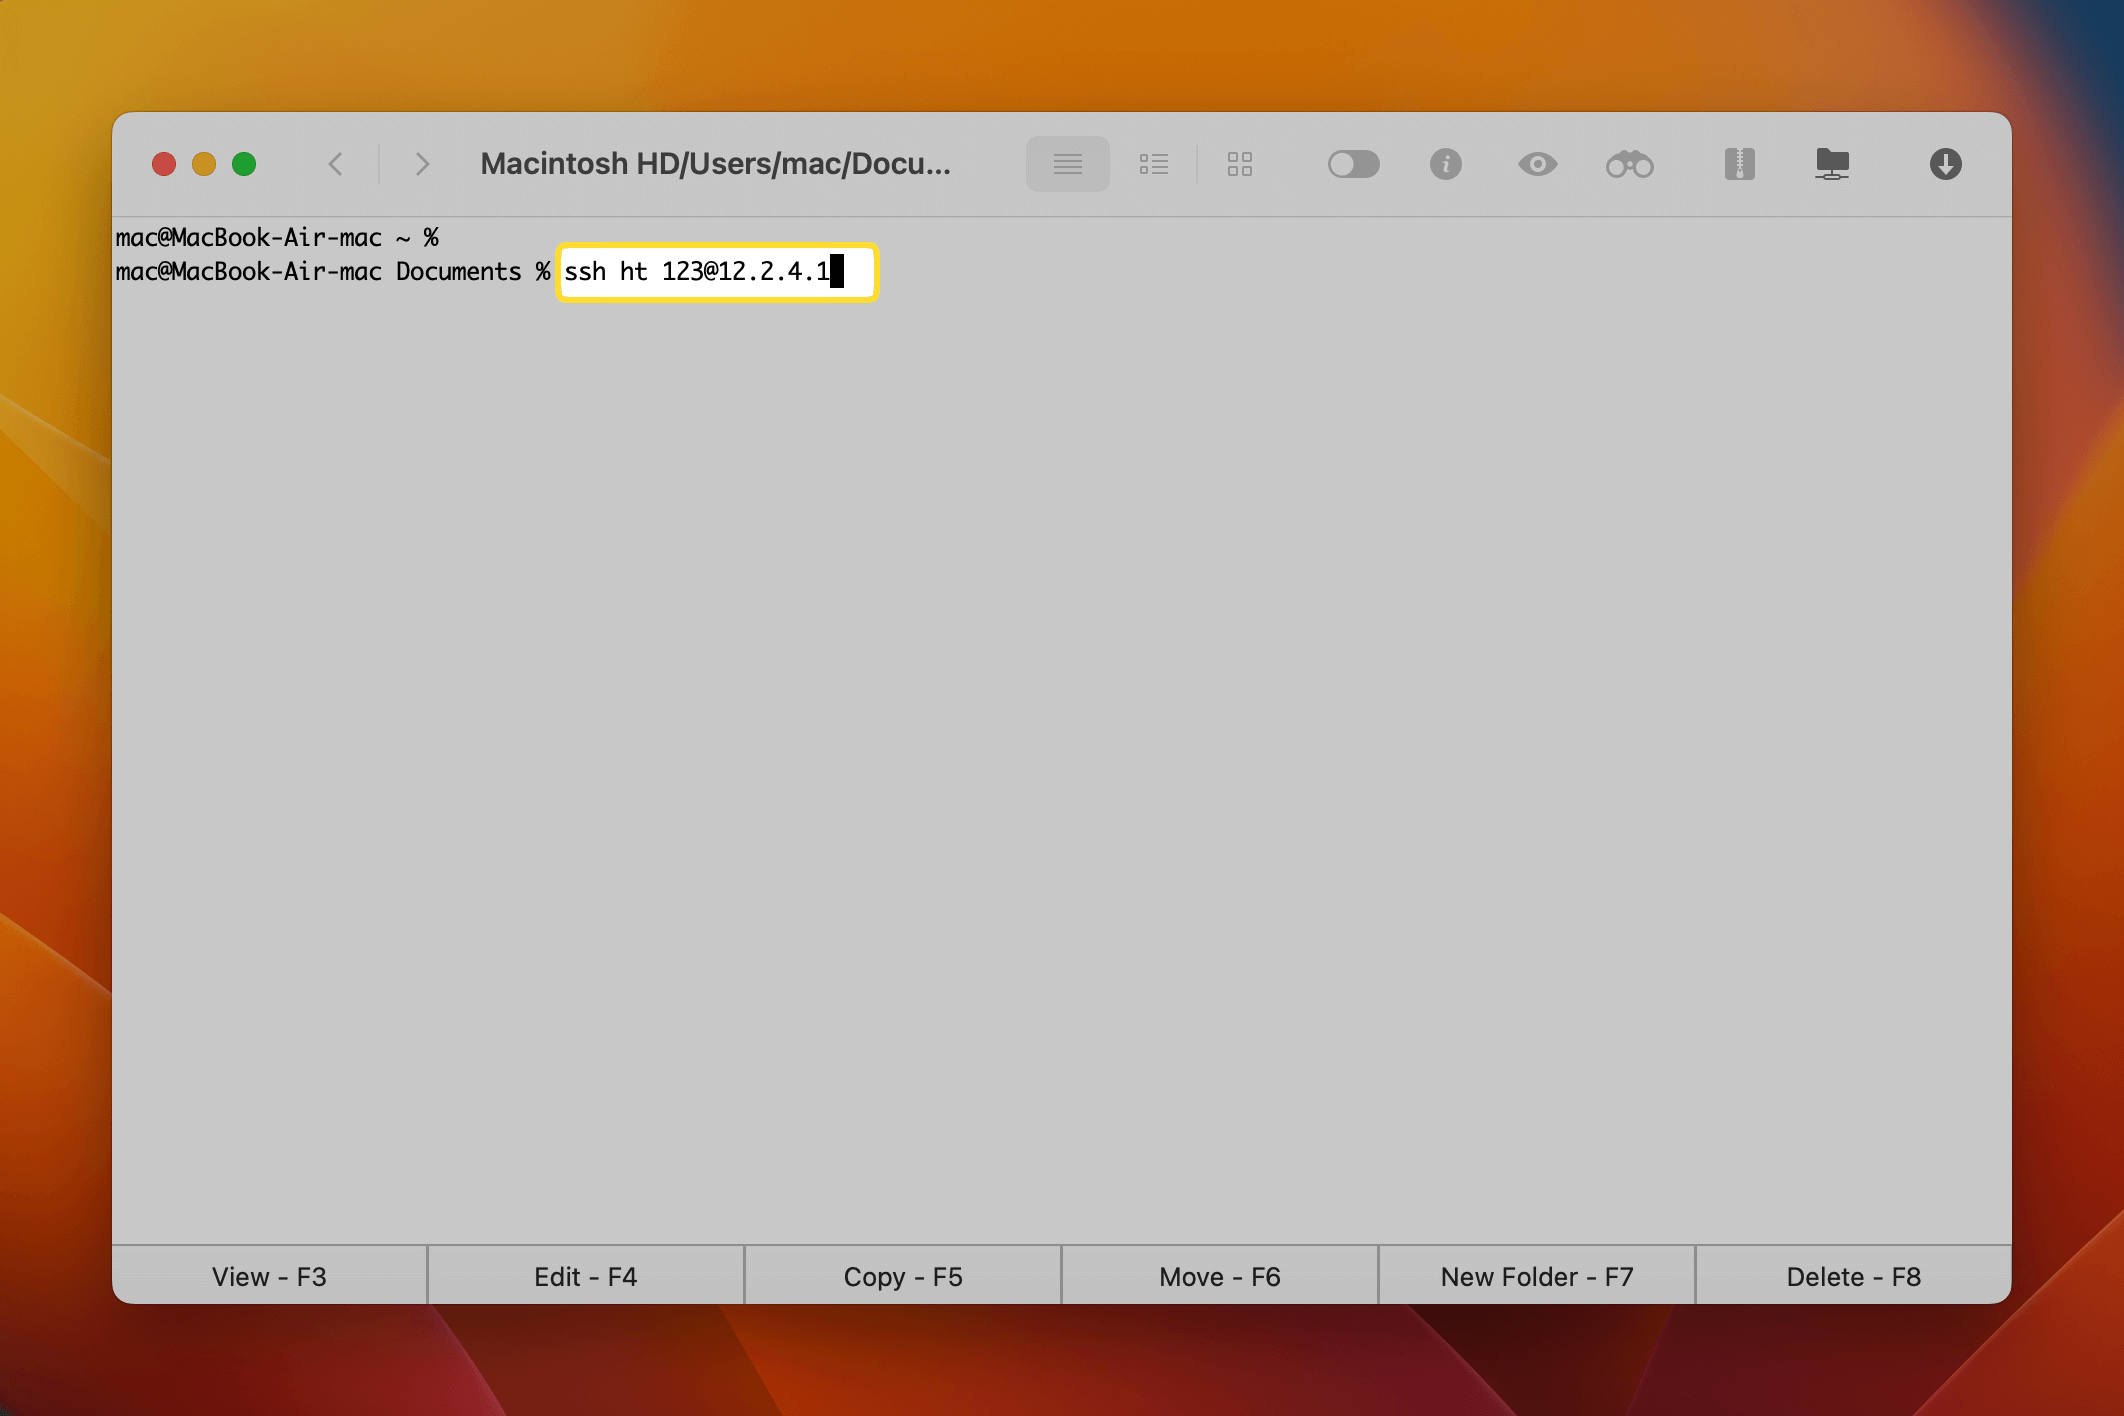
Press Ctrl+O simultaneously to open Terminal in Commander One.
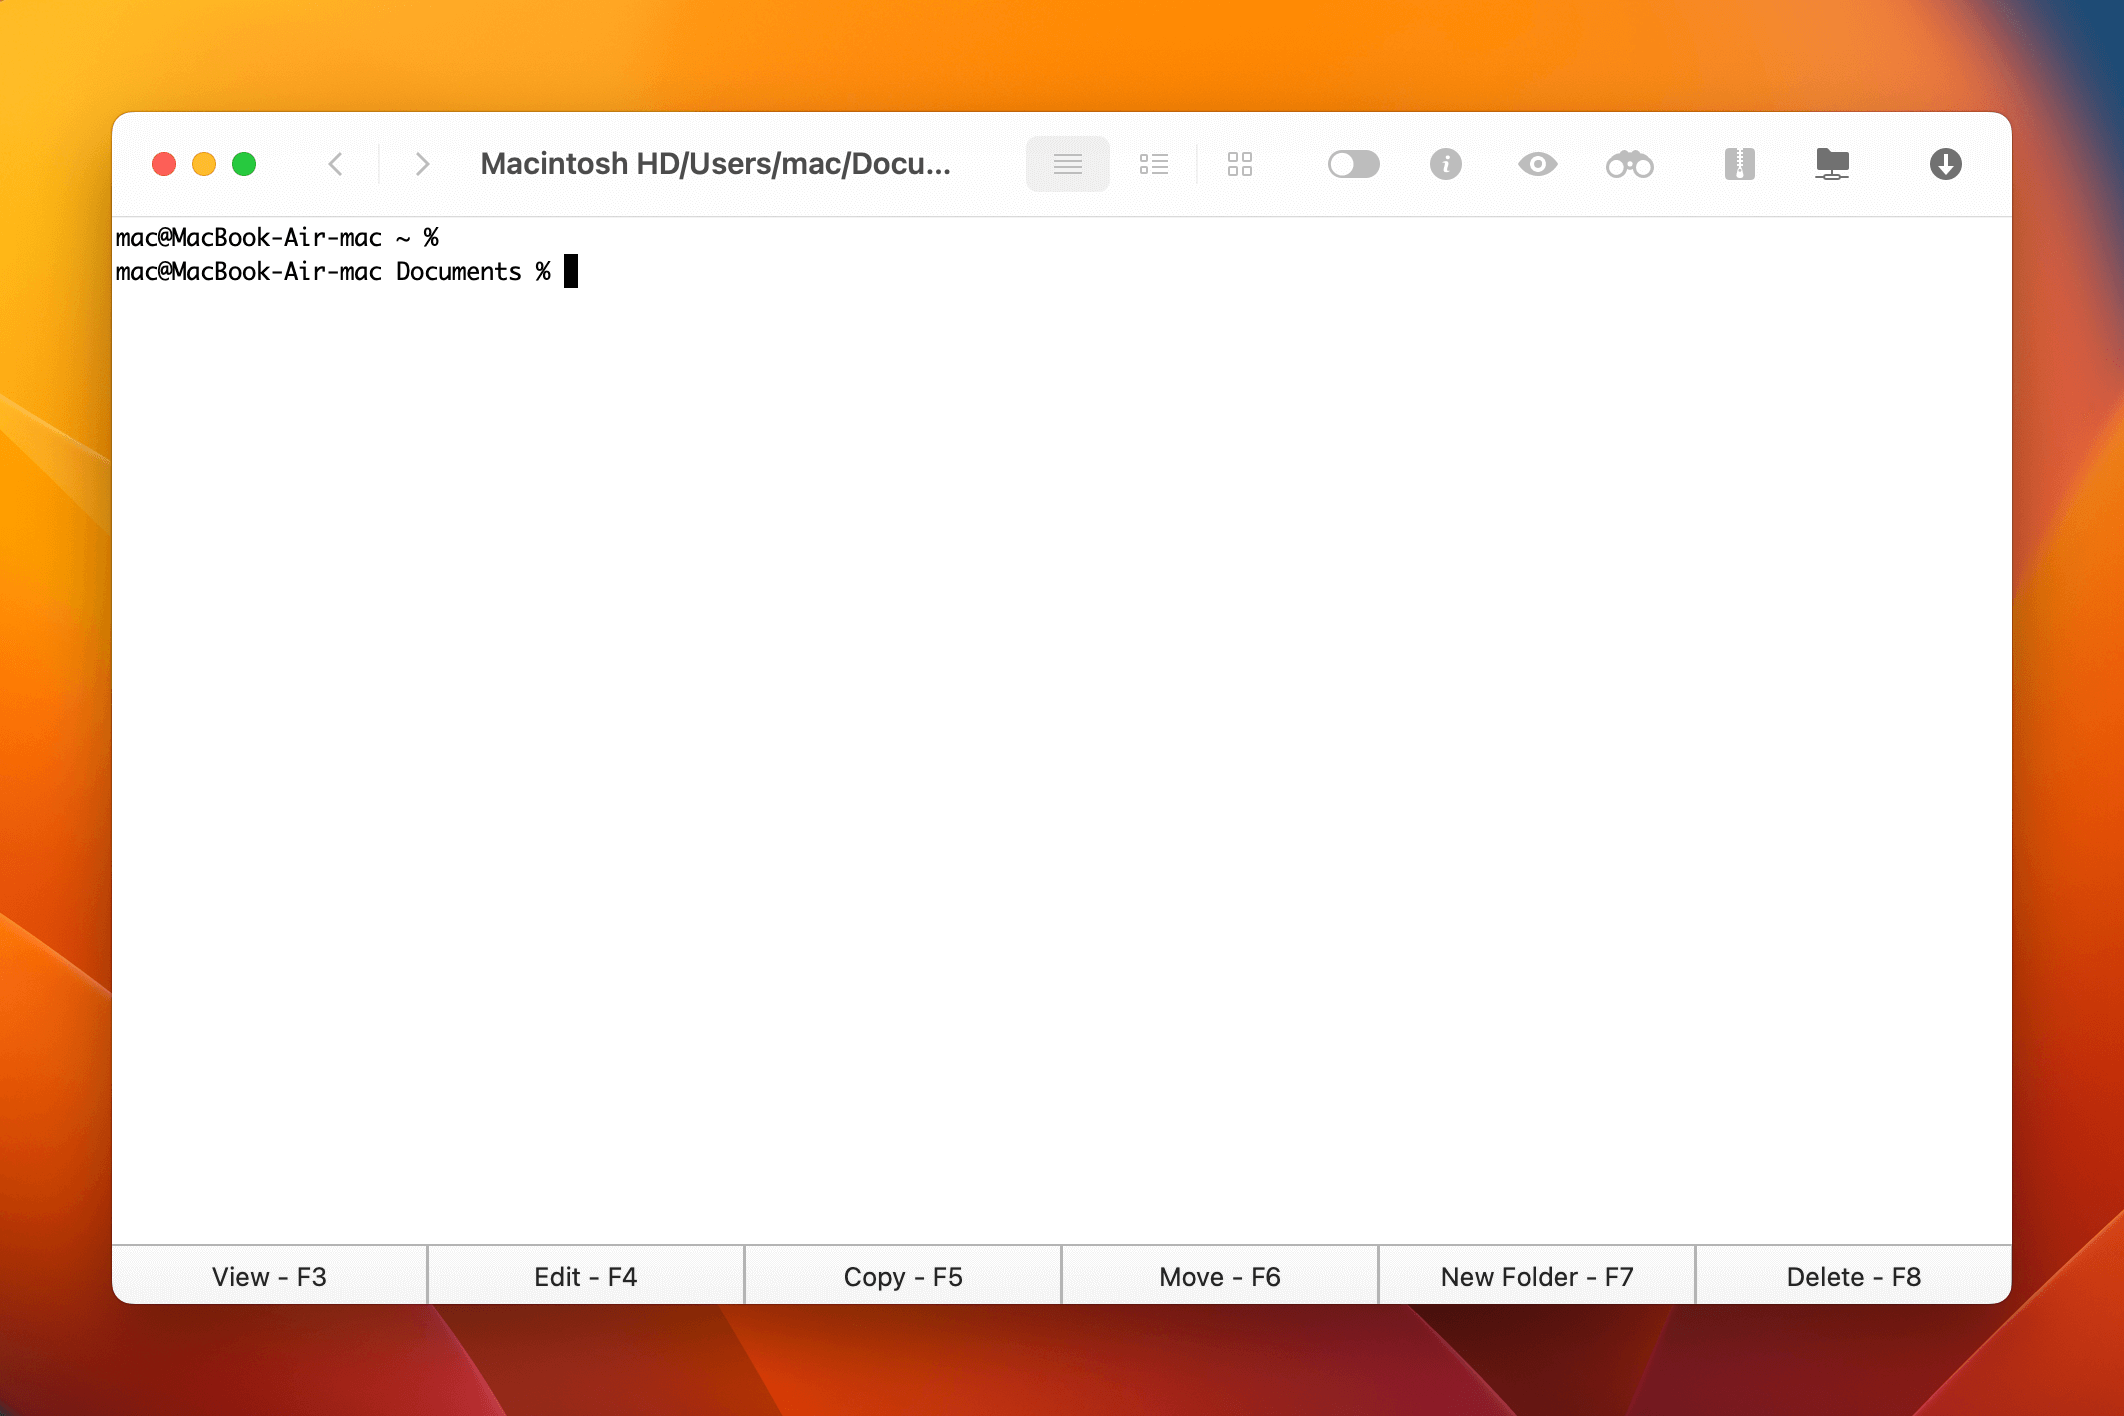
To make an SSH connection, type ssh[username]@[ip-address] in Terminal. Replace [username] with the username of the remote user and [ip-address] with the IP address of the server.
How to turn on SSH on Mac
If you want to connect to your Mac remotely over a network, then there are some settings that you have to configure first. Once you have changed these settings, you can connect to your Mac via SSH.
For this to work, you’ll have to enable Remote Login on your Mac, which can be found in System Settings. We recommend checking out the guide on Apple’s official site to learn how to do it.
Conclusion
SSH is a secure way to connect to a computer remotely and as we saw in this article, there are two ways to do it. You can use an SSH client either in Mac’s Terminal, or download Commander One to get even more features.
The Pro version of Commander One lets you execute Terminal commands in the same window, removing the need to switch to another app. Plus, it’s a great Finder alternative and FTP client, so you can do much more than just connecting via SSH to other computers on your Mac.